
Buyer’s Guide to Corten Steel Garden Edging
Buyer’s Guide to Corten Steel Garden Edging
Corten steel has quietly become the default choice for garden edging in the UK. It looks good, it lasts, and it sits as comfortably in a city courtyard as in a country border. Choosing the right edging for your own project takes a little thought, though. Thickness, height, layout and installation all matter, and getting them right at the order stage saves you grief later. This guide covers what you actually need to decide before you buy.
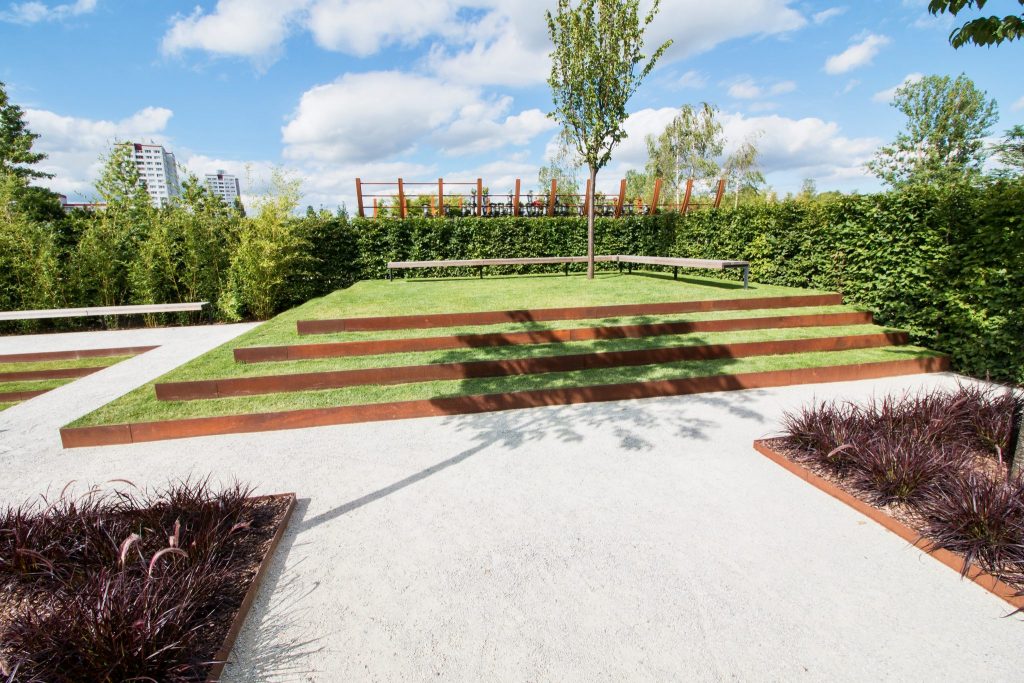
What is Corten steel edging?
Corten steel, or weathering steel, is a high-strength alloy with small additions of copper, chromium, nickel and phosphorus. Those additions let the steel form a stable, rust-coloured patina when it’s left out in the weather. Ordinary steel rusts through. Corten doesn’t. It builds a protective surface layer that slows further corrosion, which is why it lasts so well outdoors.
Edging comes in long, slim panels that define the edge of a lawn, path or planting bed. It arrives raw, in its mill state, and rusts up over the following weeks. You’ll see a clear colour change within the first month, depending on weather conditions, and the patina settles fully somewhere between six and twelve months in British weather.
For more on the metal itself, our What is Corten Steel? guide goes deeper.
Why choose Corten steel?
It lasts for decades. Once it’s in the ground and weathered, Corten edging outlasts plastic, timber and standard mild steel without much argument. The patina does the work, shielding the steel beneath from the moisture and oxygen that drive deeper corrosion. That matters most in a British winter, where freeze-thaw and constant damp make short work of cheaper materials.
The finish flatters everything. The warm, rust-toned colour is the reason most people come to Corten in the first place. It softens minimalist schemes and adds depth to traditional borders. It’s especially good next to grasses, lavender, silver-leaved Mediterranean planting and the warm tones of gravel and sandstone.
It needs nothing from you. No painting, no sealing, no annual oiling. Scuff it with a spade or catch it with a strimmer, and the scratch simply weathers over and blends back in within a few months. Once it’s installed, you’re done.
It’s a sustainable choice. Steel is fully recyclable, and Corten’s lifespan means you’re not binning and replacing edging every few years. Plastic, by contrast, sheds microplastics into your soil as it degrades. We make all our edging in the UK, which keeps transport emissions down. We also cover the sustainability and benefits of Corten steel in our pieces.
Corten edging vs other materials
Each of these materials has a place. The trick is being honest about where.
Plastic. Cheapest upfront, and a reasonable shout on a short-term project like a rented garden you won’t be staying in. For anything permanent, it’s a false economy. UV light makes it brittle, frost cracks it, and most of it needs replacing every five to ten years. Count the replacements, and the price gap closes fast.
Timber. It looks lovely when new and suits a cottage or kitchen-garden scheme, as long as you accept you’ll be replacing it. Even pressure-treated timber loses to the British climate, and the sections sitting in damp soil go first. Corten gives you the same natural feel and doesn’t rot.
Galvanised steel. Also built for the long term, but a completely different look: cool, silvery and industrial, where Corten is warm and textured. Both will outlast you. The decision is purely about which finish suits your scheme. Our Corten vs galvanised steel post covers it.
Mild steel. A similar look at a lower price, which makes it sensible when the budget has to stretch. The catch is real, though: mild steel lacks Corten’s self-protecting patina, so it won’t last as long. We stock both, so you can match the choice to the project. See Corten vs mild steel for the full comparison.
Sizes and specifications
This is where the real decisions get made. Get the spec right and everything else follows.
Thickness: 3mm or 6mm?
We offer two thicknesses, and the use case decides which you want.
3mm is the everyday choice. It’s flexible enough to bend by hand into gentle curves, easy to work with on site, and plenty rigid for normal garden duty. For most domestic gardens, this is the one.
6mm is the heavyweight. It’s far stiffer, so it holds a line better on long straight runs, copes with serious soil pressure, retains loose material at greater depths and stands up to high-traffic commercial use. It also gives a more substantial, permanent feel, making it a strong choice for larger gardens, commercial spaces or areas where extra durability is needed.
Height
How tall you go depends on what the edging is doing
For separating the lawn from the border, 75mm to 100mm is sufficient. For ornamental borders and pathways, 100mm to 150mm gives you a more visible edge and a touch more retention. For holding back gravel, mulch, bark or topsoil, go to 200mm and above.
As a general rule, bury about a third of the edging in the ground to hold it firm, so factor that into the height you pick.
If you’re trying to hold back a real change in level, edging is the wrong product. You want a retaining wall, which we’ll come to.
Curves and straight runs
The 3mm sections bend on site to follow whatever lines your design wants. Sweeping curves, arcs, circular beds- none of it needs special kit. For long straight runs, 6mm holds its line cleanly without the faint rippling you sometimes get on thinner material over distance. The 3mm will do straight runs too; it’s just a bit harder to keep perfectly true. Mixing thicknesses across one project is completely fine, and often the right call.
Corners and connectors
For crisp 90-degree turns, our corner pieces give you a clean factory joint instead of a bent compromise. Sections join on site with our simple tube and pin design, so there’s no real limit to how long a run you can build. The full Corten steel edging range shows every available size.
How much does Corten steel edging cost?
Corten sits in the mid-to-upper end of the edging market, which is fair for the lifespan and finish you get. Price comes down to four things. Length is the obvious one: more linear metres, more steel. Thickness is next, with 6mm costing roughly twice the material per metre. Taller sections use more steel again. And bespoke specs add fabrication time, particularly for odd angles, custom curves or pieces matched to an existing run.
The real value shows up over time. Plastic at a fraction of the price needs replacing every few years; timber sooner. Dig up and replace cheaper edging two or three times across the life of one Corten install, factor in the cost and the disruption, and the upfront premium has effectively vanished.
For current pricing on standard sizes, start with the edging range. We’ll happily quote for bespoke work.
Installation
Most keen DIYers can fit Corten edging in an afternoon for a small run. Larger or more intricate runs are often worth handing to a landscaper.
Tools. A spade or trowel, a rubber mallet, a spirit level, a tape measure and a pair of gloves. We supply pins and fixings with every order, so that’s covered. If you’re cutting sections to length, add an angle grinder with a metal-cutting disc.
Marking out. Lay your line with string or a hosepipe, stand back, and walk it before you commit to anything. Once you’re happy, dig a shallow trench along it. Aim to bury about a third of the edging, which for most domestic work means a trench of 50mm to 100mm. For a lawn or path edge, set it so the top finishes level with the grass, then you can mow straight over it.
Setting it. Start from a corner and work outwards. Drop each section in, check it with the level, and tap it down with the mallet to seat it. Drive the supplied pins through the fixing brackets at roughly one-metre intervals to anchor them. On heavy clay, pre-drill pilot holes to make life easier. On loose or sandy ground, reach for longer pins for more stability (we can supply longer pins on request). Once it’s pinned, backfill the trench and firm the soil down along both sides to lock everything in place.
Cutting, joining and curving. Long runs are just a matter of overlapping the joints as you work along. Trim awkward lengths with the grinder. For curves, join two or three lengths together flat on the ground first, then bend them as one to follow your line rather than working each piece round on its own. Don’t force a tight bend in one go; bring it round gradually, and it’ll behave.
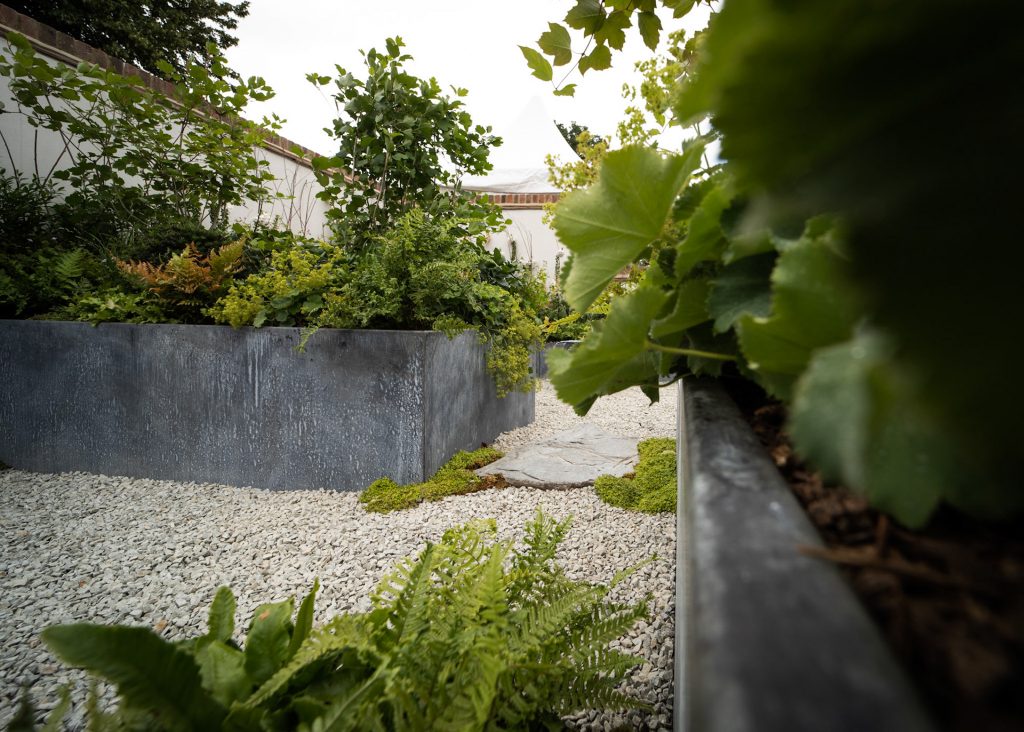
What You’ll Need
- Your steel edging lengths, plus pre-formed corner pieces if your layout needs them
- Ground pins (supplied with every order)
- A string line or spray marker
- A spade or trenching tool
- A rubber mallet
- A tape measure
- An angle grinder (if cutting down is required)
- Gloves and eye protection
Step 1: Mark Out Your Line
Set out the shape of your border first, using a string line for straight runs or a hosepipe/spray marker for curves. Take your time here; a few extra minutes at this stage saves a lot of correcting later, and it lets you check how much edging you’ll actually need before you start digging.
Step 2: Cut Your Trench
Dig a narrow trench along your marked line; it only needs to be wide enough to take the edging comfortably, not a full-width channel. As a rule of thumb, aim to bury at least a third of the panel depth below ground once installed, which gives it a stable footing while still showing a clean line above the surface. If you’re butting up against an existing lawn, cut the turf back neatly along the same line so the edge sits flush.
Step 3: Start From a Corner or Fixed Point
If your design includes corners, it’s easiest to begin there rather than partway along a straight run. Our corners come as pre-formed pieces, so there’s no cutting or mitring required; simply set the first corner piece in the trench, check it’s sitting vertically and following your marked line, then start driving the connection pins through the bosses until they’re seated firmly. Working from a fixed corner gives you a reliable reference point for everything that follows.
Step 4: Join and Continue Along the Run
Connect each length to the next by driving a connection pin through the boss at the joint, using the mallet to help seat it home rather than forcing it by hand. These joints hold the lengths together firmly while still allowing a gentle curve if your border isn’t perfectly straight. Continue section by section, checking alignment regularly rather than waiting until the whole run is in before making adjustments.
Step 5: Trim to Fit
Since corners are pre-formed, trimming is only needed where a straight length has to be shortened to reach a corner piece or an obstacle. An angle grinder will give you a clean cut — measure twice, and always deburr the cut edge before fitting it to protect against snagging.
Step 6: Backfill and Compact
Once the full run is pinned in place, backfill the trench on both sides, firming the soil in as you go so the edging is held snugly rather than just resting in the ground. On the lawn side, re-lay or reseed any turf you disturbed; on the border side, this is a good moment to add mulch, gravel or planting right up to the new edge.
A Few Tips
- Work in short sections. It’s much easier to keep a straight (or smoothly curved) line if you fit and check a few lengths at a time rather than laying the whole run before pinning anything down.
- Don’t skimp on the trench. A shallow or uneven trench is the most common reason edging ends up leaning or working loose over time.
- Check for level as you go, not just at the end; it’s far easier to correct one section than an entire border.
- Corten steel needs no maintenance. It will develop its natural rusted patina within the first few months and doesn’t need painting, sealing or treating.
Will Corten stain my patio or paving?
It’s the question we get more than any other. The honest answer: Corten does run a little during its first six months or so, but the staining is easy to design out. Keep a gravel buffer between the edging and any porous paving, direct your drainage away from sensitive surfaces, and seal porous stone like sandstone or limestone before you install. Do those three things, and you’ll rarely see a mark.
We’ve gone into the details on how do I prevent Corten steel staining my patio, which is worth reading before you start.
Where to use Corten steel edging
Lawn borders and pathways. The classic use, and the one Corten does best. A clean steel line stops grass creeping into your beds, looks sharp, and if you keep the profile low, you can mow straight over the top and skip the hand-trimming.
Flower beds and borders. Corten frames planting and gives it structure. The rusted tones sit well against green foliage and bright blooms alike, and the raised lip keeps mulch, bark and compost from wandering onto the path.
Vegetable gardens and raised beds. Steel edging keeps a kitchen garden tidy and stops soil migrating onto paths. In a larger plot split into rotation beds, it gives you clear visual divisions too. It pairs naturally with our Corten steel raised beds for a consistent look across the whole growing area.
Gravel, mulch and decorative stone. If you’ve ever lost the battle to keep gravel where it belongs, this is the fix. A taller profile holds loose material far better than plastic or timber, and the steel won’t deform when you top it up year after year.
When you need a retaining wall instead
Edging has a ceiling. As a rough rule, anything beyond about 250mm of soil to hold back is a retaining wall job, not an edging one. Push edging past that, and it bows under the load or works loose over time. Our garden retaining walls are built for exactly this, with thicker steel and structural support to take the strain. They wear the same Corten finish, so the two products sit happily together in one scheme.
Bespoke Corten steel edging
Standard sizes cover most gardens, but not all of them. We run a full bespoke service for non-standard heights, specific curve radii, unusually long runs and custom finishes. The common requests are taller sections for stepped landscaping, corners at angles other than 90 degrees, and edging to match the existing Corten. We can also supply lengths cut to size, which saves time and work on site. It’s especially useful for designers on signature projects, commercial sites with set requirements, and anyone wrestling with an awkward plot. The bespoke products page has more.
A last word
Corten edging is for the gardener who wants something with character that will still look good in fifteen years. It isn’t the cheapest line on the market, and we won’t pretend otherwise. You spec it once, fit it once, and then leave it alone to rust into the planting around it.
If you’re unsure about thickness or height, ask us rather than guess. Half the bespoke quotes we send start with a quick conversation about a plot that didn’t fit the standard sizes. Browse the full range of garden and lawn edging, or get in touch and someone on the team will talk it through with you.